Degreasing a bicycle chain made easy – How to do it in just a few steps
Your once silver bicycle chain is now black and makes annoying noises? The shifting performance has decreased or you want to switch to hot wax ? Then it's time to thoroughly degrease your chain.
We'll show you how to do this quickly and easily, and which tools and resources you need, in our step-by-step instructions - perfect for copying at home.
Overview: Required tools & utensils
Tool
- Chain link pliers (only if you are using a chain with a chain lock)
- Chain riveter (only if you use a riveted chain)
- optional: chain wear gauge for measuring chain wear
cleaning products
For new bicycle chains, it is best to use nitro thinner. Alternatively, you can also use a brake and parts cleaner.
For used chains, we recommend brake and parts cleaner. You can also use nitro thinner.
Important: Please do not use any other cleaning agents such as petrol. These contain oil and do not remove any residual grease.
Miscellaneous
- A mason jar
- kitchen paper
- brush if necessary
- Gloves if necessary (your fingers will thank you)
- optional: An ultrasonic cleaner
safety instructions
When degreasing the chain, you should work in a well-ventilated area, especially if you are using nitro thinner or brake cleaner. Be sure to wear gloves to avoid skin contact with the chemicals. Be sure to keep open flames or sources of ignition away, as these liquids are highly flammable. Rinse your hands thoroughly after working.
time expenditure
Degreasing your chain takes about 20-30 minutes. The subsequent treatment of your chain with liquid wax or chain oil takes about 15 minutes. If you want to treat your chain with hot wax, plan at least 2 hours for this.

Step 1:
dismantle the chain
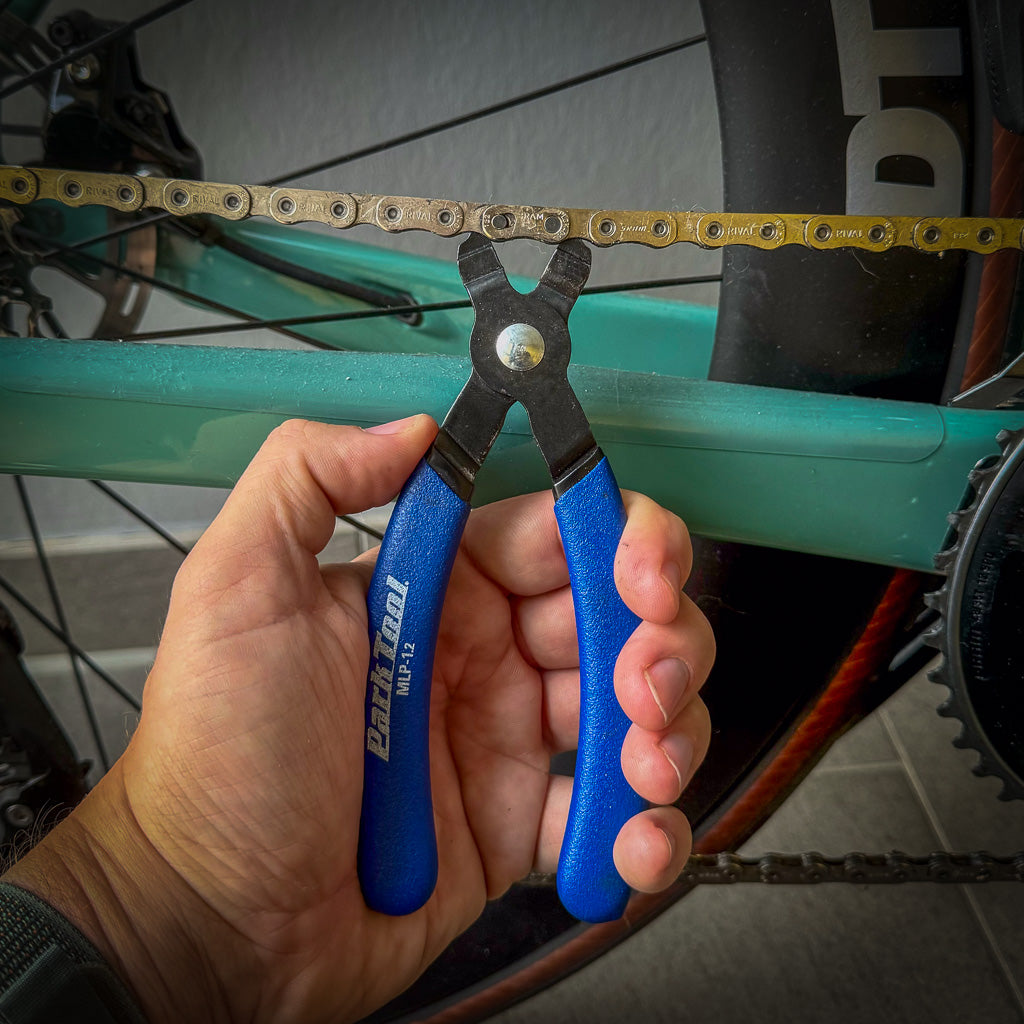
Before you start degreasing your bicycle chain, you must first dismantle it. Depending on the type of lock, you will need either a chain lock pliers or a chain riveter.
Place the tool in the appropriate place and open the chain – and you’re ready!
Quick tip: Now is the perfect time to measure the wear on your chain. If you have a chain wear gauge handy, you can quickly check the wear before disassembly.

Step 2:
degrease the chain
After disassembling your bike chain, first remove any coarse dirt with an old rag or kitchen paper. Spraying on a little brake cleaner makes things even easier!
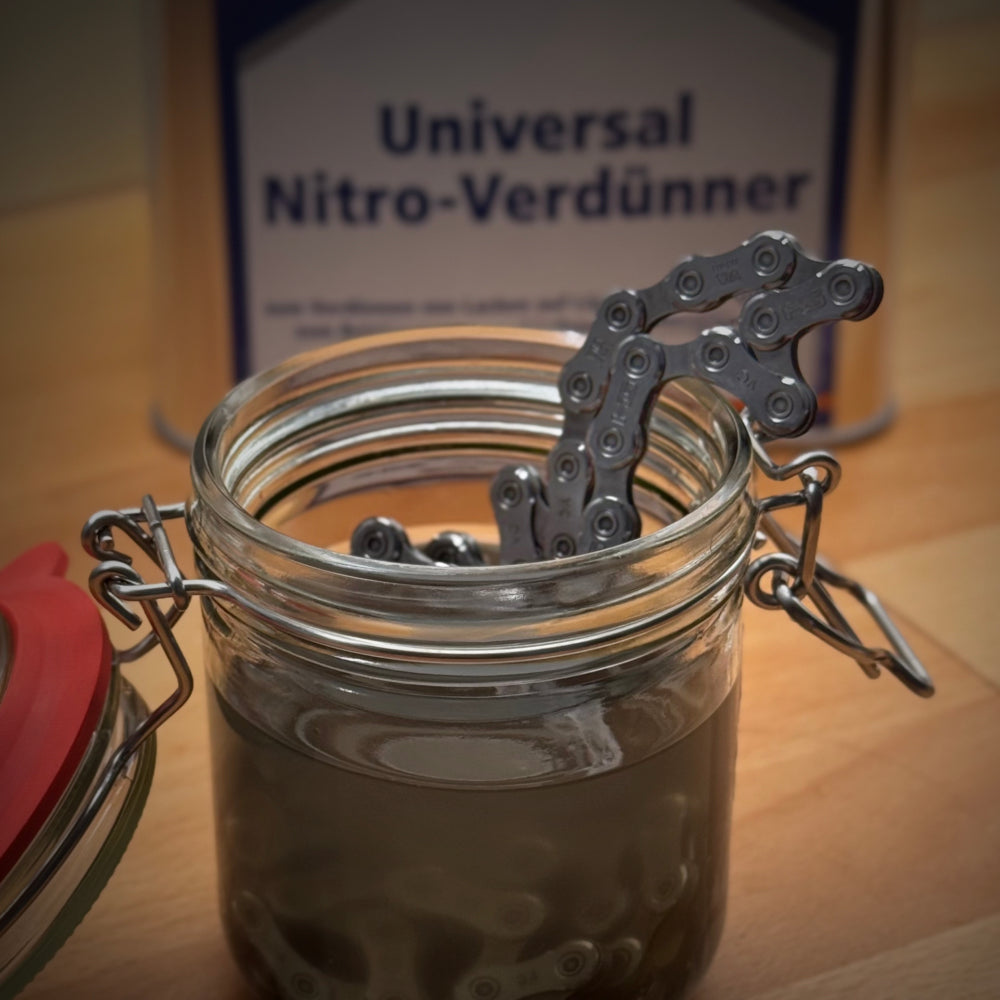
Then place your bike chain in a mason jar and fill it with nitro thinner or brake cleaner until the chain is completely covered.
Close the jar and let the chain work for about 5-10 minutes. Then shake the jar for 1-3 minutes.
You should repeat this process at least once until the liquid in the glass remains clear.

Step 3:
Rinse & Dry
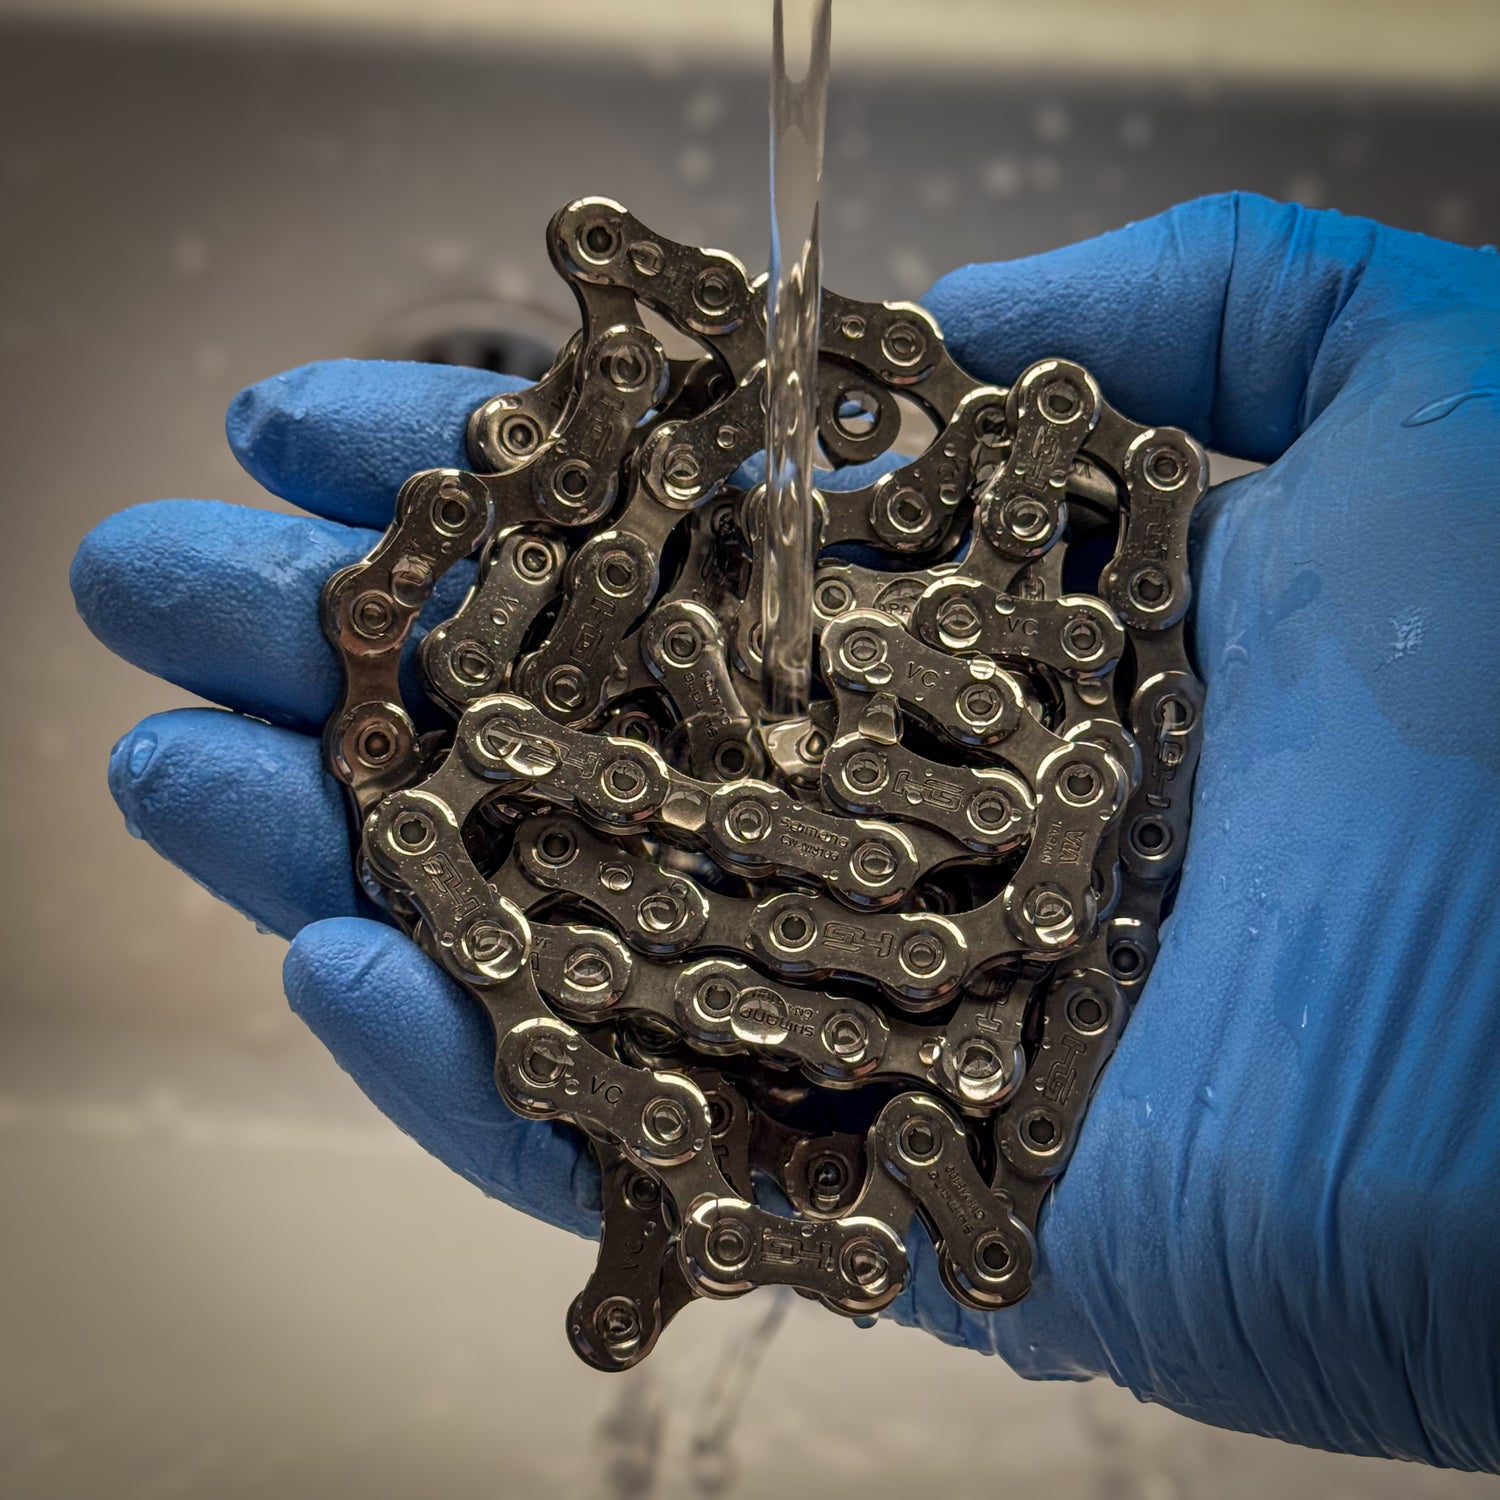
Remove the necklace from the jar and let it air out a bit.
Then rinse the chain under running water to remove any remaining degreaser.
Then dry the chain thoroughly with a kitchen towel or a clean rag to prevent the formation of corrosion.
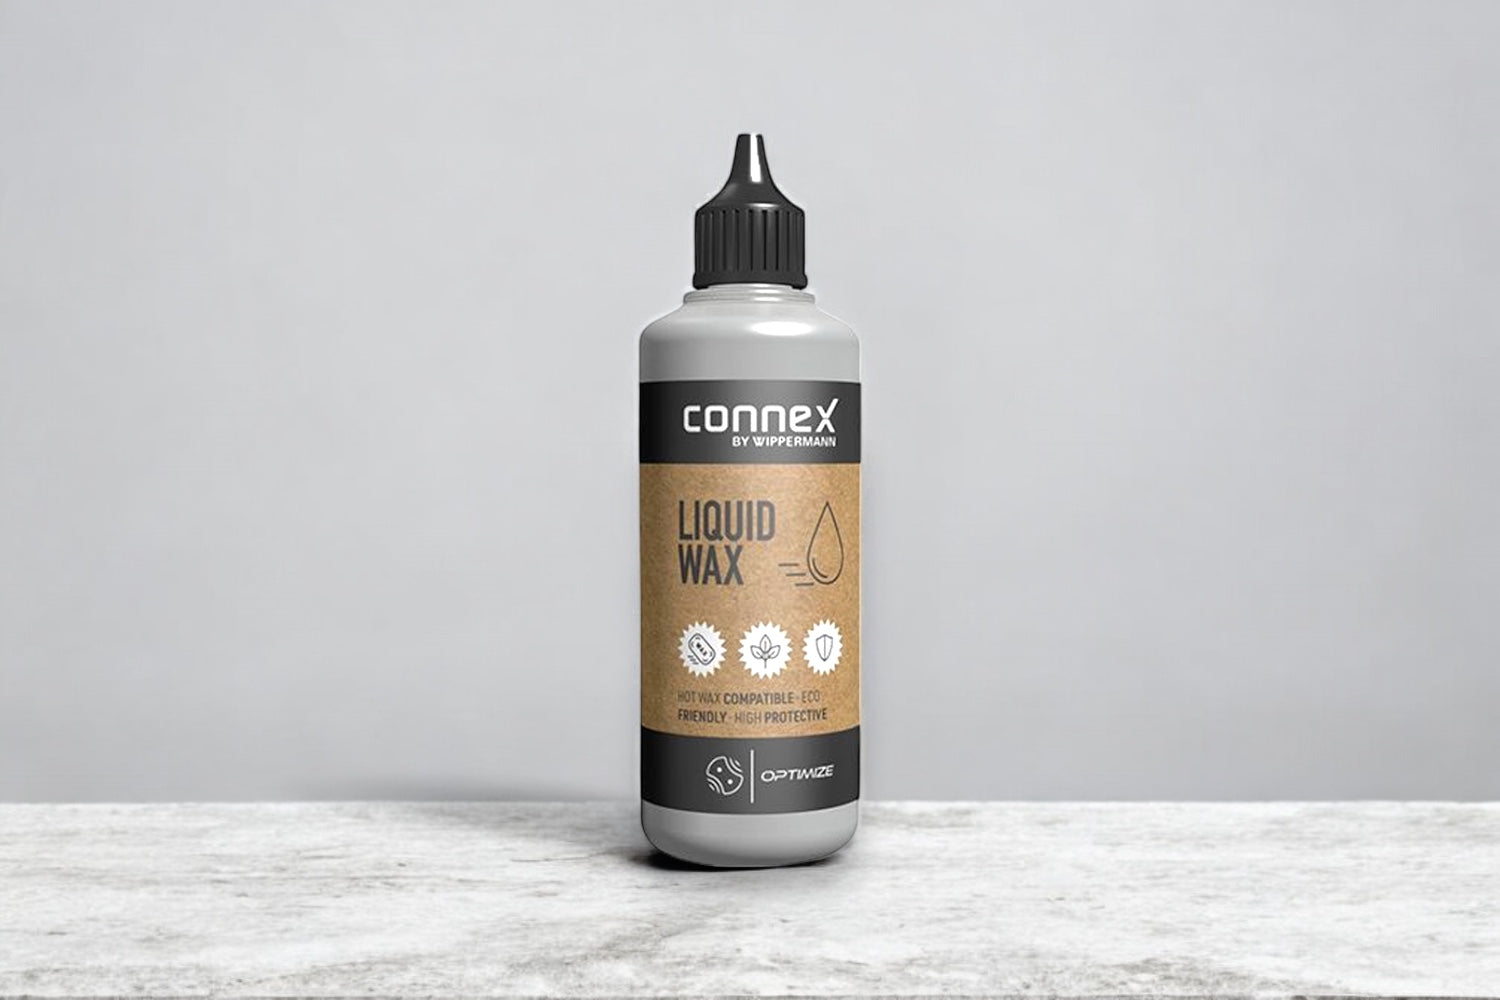
Step 4:
waxes or oils
Once your chain is completely dry, you can lubricate it again.
For minimal friction, less maintenance and a long service life, treatment with hot or liquid wax is ideal. Waxed chains also require significantly less maintenance.
Alternatively, you can use classic chain oil. Apply a drop of oil to each chain link and run the chain through it a few times so that the oil is evenly distributed. You should wipe off any excess oil with a dry cloth.

A clean thing!
With chain wax you always have a clean, quiet and low-friction bicycle chain